
In mid-March I will be heading to SCETV studios in Columbia for a week of workshops, teaching South Carolina teachers about Google Earth. I do this every year and thoroughly enjoy meeting educators from around the state. Each year I try to change things up a bit, and this year is no different.
I’m really tired of PowerPoint. Or, more specifically, I’m tired of the laziness of boring bullet points read to an audience. I try to keep these to a minimum in my presentations, preferring to demonstrate actual software rather than spend the entire presentation in PowerPoint. This time I think I’ve found a way to combine both PowerPoint and Google Earth for an effective presentation, and here’s how I’m going to do it.
My inspiration for this mash-up comes from two sources. First there is this video from a group of students in Taiwan, using Google Earth as a basis for their music video in “Zoom between Trans-ethnicity.”
The zooming effects are really cool, and illustrate that the GE engine can be used for much more than just earth imagery.
Fast forward a bit to a month or so ago when I discovered the Prezi demonstration platform. This platform uses zooming as a transitional element between display screens, feeling very much like Google Earth. I had thought I might use this for the workshops, but I actually found an even better method.
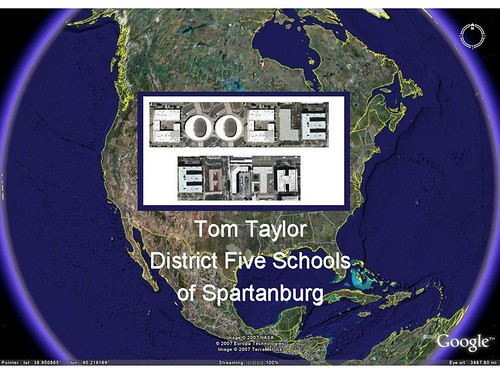
Step One – I opened up my PowerPoint presentation, then went to File and Save As. Instead of a PPT file I selected JPG. This would save all of my slides as individual image files.
Step Two – I created a folder in Google Earth called “Presentation”
Step Three – I began adding the slides as image overlays. I would choose a location, orientation, and zoom level for each slide, then would “snapshot” that overlay view.
Step Four – If the slides were not already in order, I would drag and drop them into the correct position.
Step Five – During the presentation, turn off any additional layers, including borders, labels, and roads. These will interfere with the slides.
Step Six – The folder can be saved as a KMZ file for sharing.
The video clip below demonstrates how this can be used, starting with my opening slide zoomed completely out, and then zooming in for additional slides. You may want to replay the video at least once, as it tends to be smoother the second time through. It’s fairly short.
Using this technique I can demonstrate one more way that Google Earth can be used, without having to leave the program to go to my presentation slides.
No comments:
Post a Comment